티스토리 뷰
Vue.js로 만든 어플리케이션이 규모가 커지게 되면 컴포넌트들을 분리함으로써 복잡성을 제어할 수 있습니다. 이를 통해 재사용성, 테스트 및 유지보수 용이라는 장점을 누릴 수 있습니다. 하지만 컴포넌트를 분리하면 각 컴포넌트 간의 통신은 더 불편해지게 됩니다. 이제 이벤트 버스(event bus)를 통해 이벤트 기반의 컴포넌트 간의 통신하는 방법을 살펴보겠습니다.
Vue.js 이벤트 인터페이스
Vue.js에는 다음과 같은 이벤트 인터페이스가 존재합니다.
- $on(eventName) : 이벤트 감지
- $emit(eventName) : 이벤트 트리거
동일 컴포넌트 내에서는 $on과 $emit을 이용하여 이벤트를 주고 받을 수 있습니다. 하지만 부모-자식 관계에서 $on을 이용하여 자식 컴포넌트에서 호출한 이벤트는 감지할 수 없습니다. 부모 컴포넌트의 템플릿에서 v-on을 사용하여 자식 컴포넌트에서 보내진 이벤트를 청취할 수 있습니다. 아래는 공홈에서 제공하는 예제입니다.
<div id="counter-event-example">
  <p>{{ total }}</p>
  <button-counter v-on:increment="incrementTotal"></button-counter>
  <button-counter v-on:increment="incrementTotal"></button-counter>
</div>
Vue.component('button-counter', {
template: '<button v-on:click="incrementCounter">{{ counter }}</button>',
data: function () {
return {
counter: 0
}
},
methods: {
incrementCounter: function () {
this.counter += 1
this.$emit('increment')
}
},
})
new Vue({
el: '#counter-event-example',
data: {
total: 0
},
methods: {
incrementTotal: function () {
this.total += 1
}
}
})비 부모-자식 컴포넌트 간의 통신
컴포넌트가 서로 부모/자식 관계가 아닐 경우, 간단한 시나리오에서는 비어있는 Vue 인스턴스를 중앙 이벤트 버스로 사용할 수 있습니다. 아래의 예제는 공홈에서 제공하는 예제입니다. 대규모의 어플리케이션의 경우 상태 관리 패턴(Vuex) 도입을 고려해보시는 것도 좋습니다.
var bus = new Vue()

// 컴포넌트 A의 메소드
bus.$emit('id-selected', 1)

// 컴포넌트 B의 created 훅
bus.$on('id-selected', function (id) {
  // ...
})
이제 본격적인 사용법을 살펴보겠습니다. 프로젝트의 구조는 webpack 템플릿으로 생성된 기본 구조라고 가정하겠습니다. 전체 구조는 링크를 참조하세요.
.
├── src/
│   ├── main.js                 # app entry file
│   ├── App.vue                 # main app component
│   ├── components/             # ui components
│   │   └── A.vue
│   │   └── B.vue
│   └── assets/                 # module assets (processed by webpack)
...
A.vue와 B.vue간의 통신이 필요하다고 가정합시다. 우선 main.js에서 EventBus를 Vue prototype에 등록합니다.
Vue.prototype.$EventBus = new Vue();

new Vue({
  el: '#app',
  router,
  template: '<App/>',
  components: { App },
});
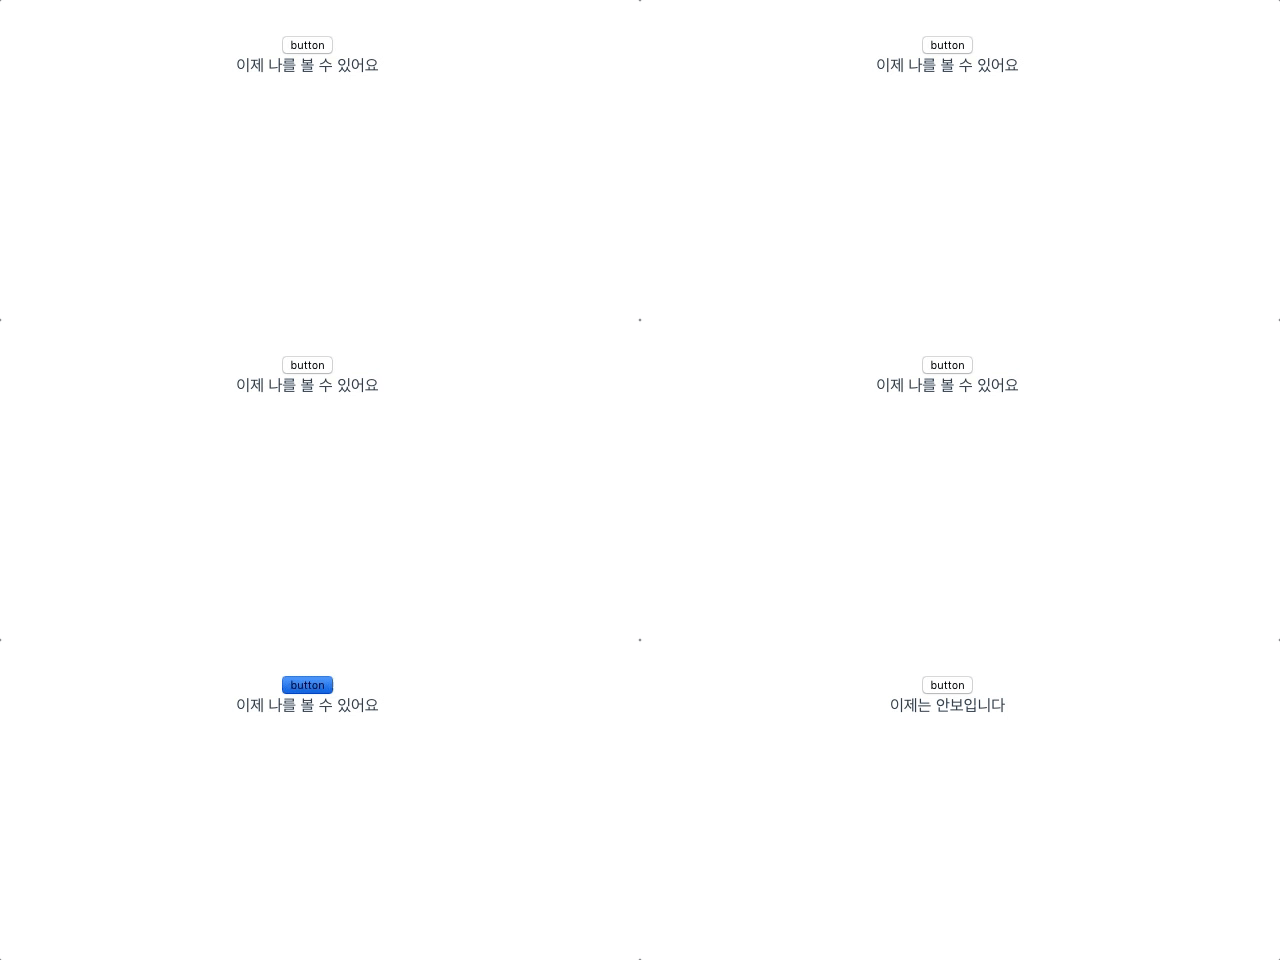
A.vue 컴포넌트에 있는 버튼을 클릭할 때마다 B.vue에 있는 dom이 토글되도록 이벤트를 전달하도록 하겠습니다.
// A.vue
<template>
    <button v-on:click="$EventBus.$emit('click-icon')">
        button
    </button>
</template>
// B.vue
<template>
<div v-if="drawer">
이제 나를 볼 수 있어요
</div>
<div v-else>
이제는 안보입니다
</div>
</template>
<script>
export default {
data() {
return {
drawer: true,
};
},
created() {
this.$EventBus.$on('click-icon', () => {
this.drawer = !this.drawer;
});
},
};
</script>App.vue에서 생성한 A.vue와 B.vue를 import하여 사용해 봅시다.
// App.vue
<template>
    <div id="app">
        <AA></AA>
        <BB></BB>
    </div>
</template>

<script>
    import AA from './components/A';
    import BB from './components/B';

    export default {
        name: 'app',
        components: {
            AA,
            BB,
        },
    };
</script>
이제 dev server를 실행시켜 제대로 동작하는지 확인하는 일만 남았습니다. npm run dev를 실행하면 다음과 같이 버튼을 클릭하면 글자가 토글되는 것을 확인하실 수 있습니다.

전체 코드는 GitHub에서 확인하실 수 있습니다.
